
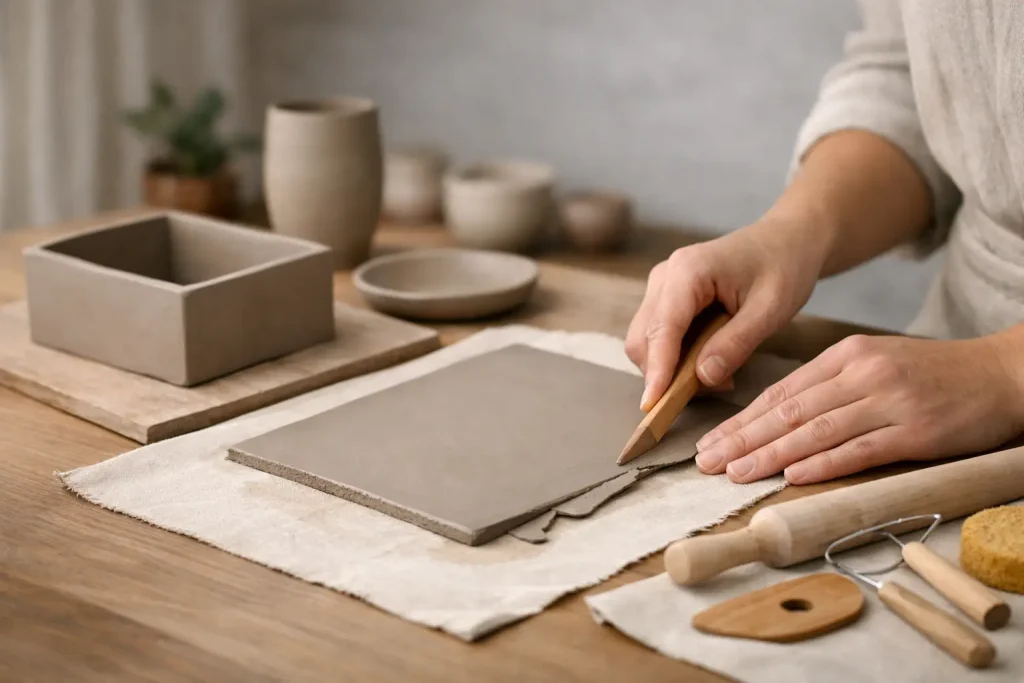
That first sheet of rolled clay can feel surprisingly promising. One minute it is just a lump on the table, and the next it is becoming a tray, a mug, or a little planter you can actually use at home. That is why beginner clay slab building is such a popular starting point. It is hands-on, forgiving, and practical, especially if you want to make functional pieces without jumping straight onto a pottery wheel.
Slab building is exactly what it sounds like. You roll clay into flat sheets, then cut, shape, join, and assemble those pieces into forms. For beginners, that is great news. You can see the structure as you go, work at your own pace, and focus on simple techniques that give you a real result by the end of a session.
Why beginner clay slab building is a great place to start
If you are new to clay, slab building gives you a clear path from idea to finished object. You do not need to center clay on a wheel or learn a long sequence of movements before making something recognizable. Instead, you start with basic shapes and build outward.
It also suits a wide range of people. Adults who want a relaxing creative outlet tend to love how tactile and calming it feels. Kids and teens usually enjoy the instant progress. Groups often find it more social than wheel throwing because everyone can chat while working side by side. If your goal is a fun, beginner-friendly class where you make something useful, slab building ticks a lot of boxes.
There is also plenty of room to keep it simple or get more detailed. A first project might be a small dish with a pressed texture. Later, the same method can be used for platters, wall pieces, candle holders, and cup forms. That balance is part of the appeal – it is approachable, but it does not feel limited.
What you need before you start
The basic beginner clay slab building setup is refreshingly straightforward. You need clay, a rolling pin or slab roller, something to keep your slab at an even thickness, a rib or scraper to smooth the surface, and a needle tool or knife for cutting. A sponge, some water, and a scoring tool will help with joining pieces together.
The type of clay matters, but not in an intimidating way. A smooth stoneware clay is often a comfortable place to begin because it is durable and works well for functional pieces. Earthenware can also be beginner-friendly, especially for decorative items. If you are taking a class, the studio usually selects a clay body that behaves well for the project, which removes a lot of guesswork.
One thing beginners often overlook is the work surface. Clay remembers textures. If you roll it on a rough tablecloth, that pattern may transfer. Sometimes that is lovely. Sometimes it is not what you meant. A clean canvas surface or board gives you more control.
How slab building works, step by step
The process starts with preparing the clay. You want it soft enough to roll but not sticky and collapsing. Wedging the clay first helps remove air pockets and creates a more even consistency.
Next comes rolling the slab. Even thickness is one of the biggest factors in success. If one area is thin and another is chunky, drying becomes uneven and warping is more likely. Many beginners use guide sticks on either side of the clay so the rolling pin stays level.
Once your slab is rolled, give it a moment to settle. Freshly rolled clay can stretch slightly, and cutting right away sometimes leads to distortion. Letting it firm up a little can make clean shapes easier.
Then you cut your forms. For a tray, that might mean a rectangle for the base and strips for the sides. For a cup, it could be one rectangle wrapped into a cylinder plus a circle for the bottom. Templates made from paper or cardboard are especially helpful if you want matching pieces or neat geometry.
Joining is the part that deserves patience. To attach two clay pieces, you score both surfaces, add a little slip or water, and press them together firmly. Think of it less like stacking and more like knitting clay into itself. Smooth and reinforce the seam so it becomes one connected structure rather than two parts simply touching.
Finally, refine the shape. Compress edges, smooth fingerprints, and check whether the piece sits evenly. Small adjustments at this stage make a big difference later.
Common beginner mistakes and how to avoid them
Most slab building problems come down to moisture, thickness, or rushing. The good news is that these are very fixable once you know what to watch for.
Warping is one of the most common frustrations. Usually, it happens when slabs are uneven, moved too soon, or dried too quickly. Flat pieces like trays and plates are especially prone to this. Slow, even drying helps. So does flipping flat work carefully during the drying stage, if the project allows it.
Cracking often shows up at joins. That usually means the pieces were not scored and compressed well enough, or one part dried faster than the other. Beginners sometimes use too much water, which can weaken the join instead of helping it. A little moisture goes a long way.
Another issue is building with clay that is too soft. It feels easier at first, but soft slabs slump. If your walls are collapsing or corners are drooping, let the slab firm up to a soft leather-hard stage before assembling. This is one of those it-depends moments. Curved organic forms often benefit from softer clay, while straight-sided functional pieces usually behave better with slightly firmer slabs.
Easy first projects that actually work
The best beginner projects are simple enough to finish confidently but open enough to feel personal. Small trays are a favorite for good reason. They teach rolling, cutting, shaping, and edge finishing without too many structural challenges. You can keep them sleek and modern or add texture, stamps, and carved details.
Pinch bowls combined with slab elements are another nice starting point. You get some hand-built softness with a slab foot or decorative attachment, which helps you explore more than one technique at once.
Planters, spoon rests, and wall hangings also work well for first-time makers. Mugs can be done with slab building too, but handles add a layer of difficulty. That does not mean beginners should avoid them entirely, just that a simple tumbler or cup may feel more satisfying for a first project.
If you are joining a guided class, this is where the experience really helps. A good instructor can steer you toward projects that fit the session length, your confidence level, and the stage of the clay. That means less frustration and a better finished piece.
Texture, shape, and the fun part
One of the reasons slab building is so popular in social workshops is that it is easy to personalize. You can press lace, leaves, fabric, stamps, or carved rollers into the slab before assembling. You can cut clean lines for a modern look or leave gentle irregularities for something more handmade and relaxed.
This is also where beginners start to understand that handmade does not mean perfect. Slight variations in edge, shape, and surface are part of the charm. The goal is not factory precision. The goal is to make something with character that still functions well.
Glaze and finish matter too. A glossy finish can make a simple form feel polished and gift-worthy. Matte glaze can highlight texture beautifully. Some pieces look best in one solid color, while others benefit from layered tones or painted details. If glazing and firing are included in a class, that takes a lot of pressure off and lets you focus on the creative part.
Why a class can make all the difference
You can absolutely try slab building at home, but there is a reason beginners often progress faster in a studio setting. Clay has timing built into it. Too wet, too dry, too fast, too thin – those little variables are easier to manage when someone experienced can step in early and show you what to change.
A good beginner class also removes the practical hurdles. The clay is ready, the tools are there, and the firing process is taken care of. You do not need to figure out kiln access or wonder whether your piece is food safe. You get to show up, make something, and enjoy the process.
That is part of why Tennyson Studio has remained a favorite for hands-on creative experiences for so many years. When the environment is welcoming and well guided, beginners relax. And when beginners relax, they usually make better work.
Beginner clay slab building gets better with repetition
Your first piece may not be perfectly symmetrical. It may lean a little, or the glaze may break differently on the texture than you expected. That is normal. Clay teaches through making, not through overthinking.
What matters most is learning to read the material. You begin to notice when a slab is ready to lift, when a seam needs more compression, and when a form should be left alone for a few more minutes before shaping. Those instincts build quickly.
If you are curious about clay but want a starting point that feels fun, social, and achievable, slab building is one of the best places to begin. Roll it out, cut a shape, press in a texture, and make something you will actually use. The beauty of clay is that it starts as a lump and ends as a story you can hold.