
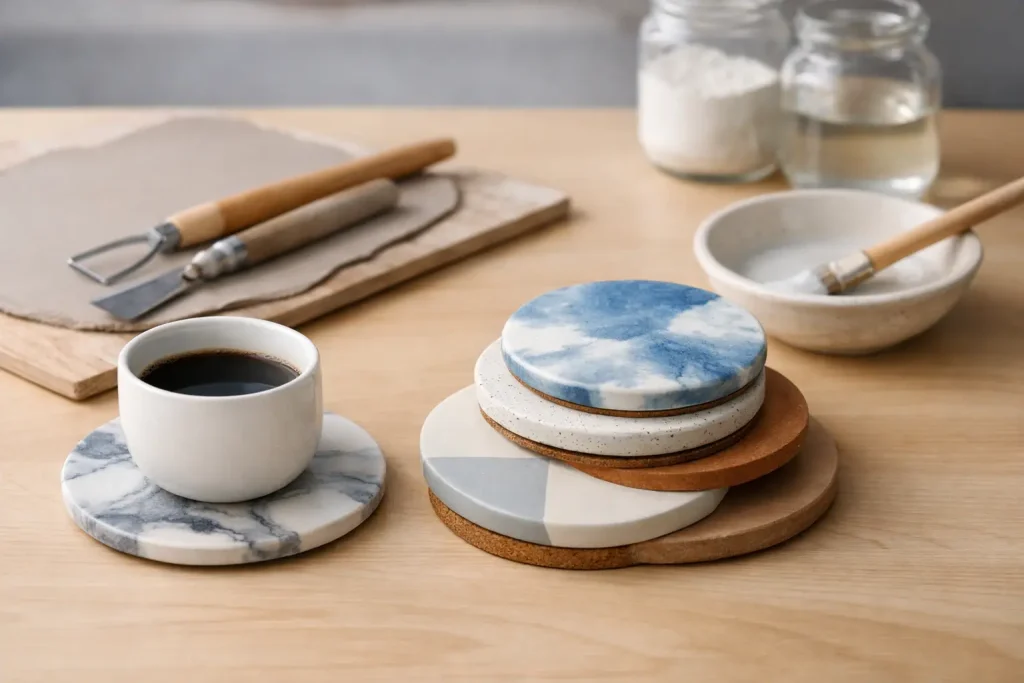
A coaster is a small project with a big job. It needs to look great on the table, sit flat beneath a cold drink, and handle the occasional splash without turning into a puddle-making decoration. Learning how to create ceramic coasters is a fun, beginner-friendly way to make something useful while trying real clay techniques.
You do not need prior pottery experience to get a lovely result. The secret is slowing down at a few key stages: rolling an even slab, compressing the clay, drying it carefully, and choosing a finish that works for everyday use. Make one matching set for your coffee table, or embrace different colors and patterns for a handmade gift that feels personal.
What You Need to Make Ceramic Coasters
Start with a smooth, workable stoneware or earthenware clay. Stoneware is an excellent choice for everyday coasters because it becomes durable after firing, although it may shrink more than low-fire clay. Ask your studio which clay and glaze combinations are suitable for functional pieces, since firing temperatures matter.
For a simple slab-built set, gather these essentials:
- Clay, preferably a smooth clay body with little or no grog
- A rolling pin and two guide sticks of equal thickness
- A canvas-covered board, mat, or clean work surface
- A needle tool or craft knife, plus a ruler and a coaster template
- A soft sponge, scoring tool, and a little water or slip
- Texture tools, stamps, underglazes, or ceramic glaze
A 4-inch square or round coaster is a practical starting size. Remember that clay shrinks in firing, so make your template slightly larger if you want a finished coaster that comfortably holds a large mug or glass. A 4 1/2-inch template often gives you extra breathing room.
How to Create Ceramic Coasters From Clay
Roll an even slab
Wedge your clay first by pressing and folding it to remove air pockets and create an even consistency. This small step helps prevent cracks and weak spots later. Place the clay between guide sticks and roll from the center outward, turning the slab occasionally so it does not stick to the surface.
Aim for a thickness of about 1/4 inch. Thinner coasters can feel elegant, but they are more likely to warp or crack. Thicker ones are sturdy, though they will take longer to dry and can feel a little heavy in a stack. For beginners, consistency matters more than making them ultra-thin.
Once rolled, compress both sides of the slab with a rib, old gift card, or the flat of your hand. Compression aligns the clay particles and reduces the risk of cracking. It is one of those simple ceramic habits that makes a noticeable difference.
Cut your shapes cleanly
Use a paper template, cookie cutter, or ruler to cut four to six coasters from the slab. Squares, circles, arches, and organic pebble shapes all work beautifully. If you are making a set, stack your templates or measure carefully so each piece is close to the same size.
Lift each coaster gently rather than pulling it across the work surface. Smooth the edges with a barely damp sponge or your fingertip. Too much water can make edges mushy, so use less than you think you need.
If you want a raised rim, add a thin coil around the edge while the slab is still soft. Score both surfaces, add a small amount of slip, and press the coil into place. This can help catch condensation, but keep the rim low enough that a glass still sits securely.
Add texture, pattern, and personality
This is where a simple coaster becomes unmistakably yours. Press lace, leaves, textured fabric, carved stamps, or a patterned roller into the clay. You can also use a needle tool to draw line art, write initials, or create a border.
Keep texture fairly shallow on the top surface. Deep grooves can collect moisture and make a coaster harder to wipe clean. If you love a heavily textured look, consider placing it around the border while leaving a smoother center for the drink.
For a playful set, give each coaster its own design while repeating one element, such as the same border, color family, or stamp. The result will still feel coordinated without looking factory-made.
Help the coasters dry flat
Warping usually happens during drying, not because you did anything wrong while cutting the clay. Coasters are wide and flat, so one side can dry faster than the other if they are left uncovered in a warm spot.
Place the pieces on a flat drying board and cover them loosely with plastic. Let them dry slowly for several days, flipping them carefully once they are firm enough to move. A piece of drywall, untreated wood, or a studio drying board can help draw moisture evenly, but do not rush the process with direct sun, heaters, or a hair dryer.
Check the edges as the clay firms up. If one begins to curl, gently press the coaster flat again while it is still leather-hard. Do not force fully dry clay back into shape, as that can create stress and cracking.
Firing and Glazing for Everyday Use
When your coasters are completely dry, they are ready for bisque firing. Bone-dry clay should feel room temperature when held against your cheek. If it feels cool, there is still moisture inside, and it needs more drying time before it goes into the kiln.
After bisque firing, brush away dust before adding underglaze or glaze. A glossy glaze is easy to wipe clean and gives bright color, while a satin or matte glaze can create a softer, more modern look. Keep in mind that some matte glazes can show stains or moisture marks more easily than glossy finishes.
Avoid glazing the underside where the coaster touches the kiln shelf. Leave a clean foot or use kiln-safe stilts if your firing setup allows them. If glaze touches the shelf during firing, it can permanently stick to it.
Apply glaze in even coats and let each layer dry as directed. Thin glaze may look patchy after firing, while overly thick glaze can crawl, blister, or run. Test tiles are useful if you are experimenting, but a guided studio session makes this part far less stressful. At Tennyson Studio, beginners can enjoy the hands-on making while getting clear advice on clay, glazing, and kiln firing.
Make Coasters That Protect Your Table
Ceramic itself is durable, but a finished coaster should also protect the surface beneath it. After glaze firing, check that every coaster sits flat. If there is a tiny rough spot on the bottom, gently smooth it with fine sandpaper designed for fired ceramic, taking care not to scratch the glazed surface.
For wooden, glass, or delicate tables, add small cork pads or a cork sheet to the underside. This helps prevent scratching and gives the coaster a little grip. Cork is especially helpful if your design has an unglazed bottom, which can feel slightly abrasive on some surfaces.
A fully glazed top is best for cold drinks because it resists moisture. Unglazed ceramic can absorb condensation over time, so while it may look beautifully natural, it is not always the most practical choice for a hardworking coaster. You can also glaze the sides for easy cleaning while leaving the bottom bare for firing.
Easy Ideas for Your First Set
If you are unsure where to begin, choose a design that lets the clay do some of the visual work. A set of round coasters with a single pressed botanical texture feels relaxed and polished. Square coasters with a carved grid pattern suit a modern table, while bright underglaze dots or painted fruit motifs make a cheerful gift.
Marbled clay is another beginner-friendly option. Gently combine two compatible clay colors without overworking them, roll into a slab, and cut your shapes. The swirls will be different on every coaster. Just make sure both clays fire at the same temperature and have similar shrinkage rates.
For kids and group activities, stamped initials, simple animals, stars, and hand-drawn patterns are often more successful than intricate designs. The goal is not perfect symmetry. It is making something useful that brings back the memory of creating it.
Let your finished coasters cure fully after their glaze firing, then put them straight to work under iced tea, coffee, or a celebratory glass. Every small mark, brushstroke, and texture will make an ordinary table setting feel more like yours.